
Installation
Install the FortiClient via Apple App-Store but be careful because there are two different versions of FortiClient. One version requires a licence the other is the free version with limited functions which we are using in this manual:
https://apps.apple.com/us/app/forticlient-vpn/id1475674905
When starting the app you can "Allow" Notifications and are shown the privacy policy highlights.

Click on "I accept"

You are shown an information stating there is no (technical) support from Fortinet. If you need support ask our Service Desk Staff ![]()
Click on "I accept"

FortiClient needs permissions to add VPN Configurations. Click on "Allow".
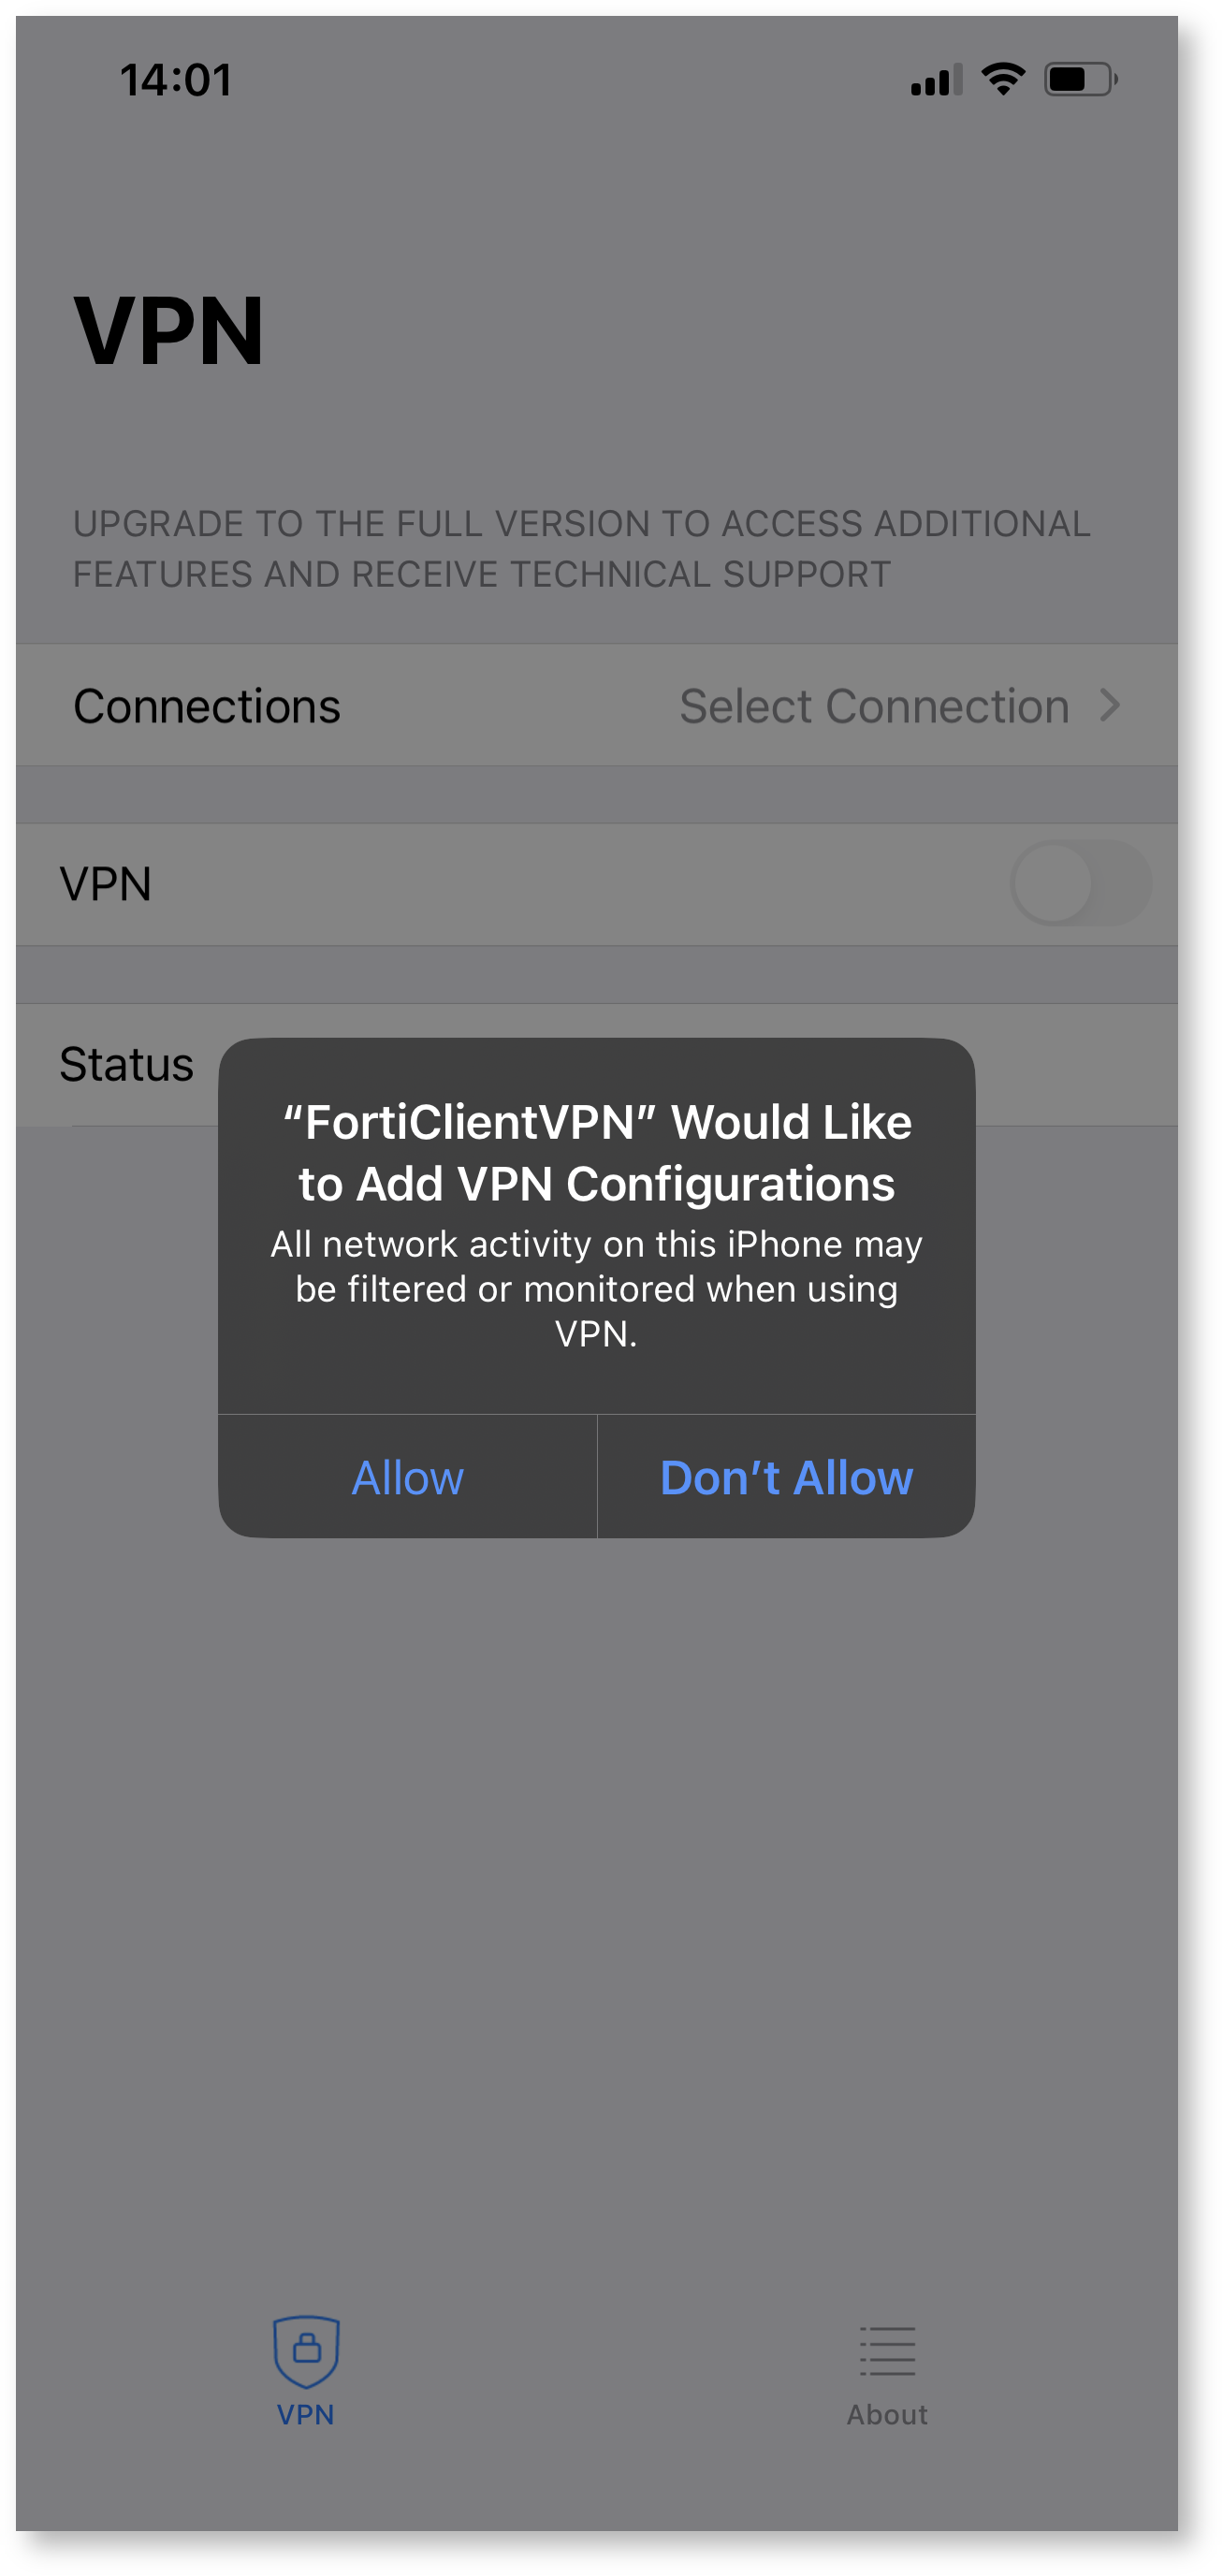
And enter your iPhone/iPad passcode:

Configuration
Click on "Select Connection"

and "Add Configuration"

The configuration for our standard VPN connection should look something like this:

| Option | Value | Description |
|---|---|---|
| Name | pub-all | Can be freely selected |
| Host | https://vpngate.frankfurt-university.de/pub-all | Gateway address. The "Realm" (VPN tunnel name) follows the slash / In most cases the realm is pub-all but it may differ when using a different tunnel. |
| Port | 443 | The port may also be customized but in this case just leave it at 443 (default). |
| SSO | disabled | Can be ignored (default). |
| User | Your CIT-Account | |
| Use Certificate | disabled | Certificate used for authentication. In this case no certificate is used (default) |
Click on "Save" to save the configuration. Subsequently the connection can be established.
Go go back to the startpage and tap on the "VPN" switch

and enter the login information for your CIT-Account

When successfully connected you will be shown something like this:
