Installation
Download the FortiClient VPN Installer and execute the installer with admin privileges. This will start a setup assistant where you need to accept the licence agreement. When successfully finished there will be a shortcut on your desktop:

Configuration
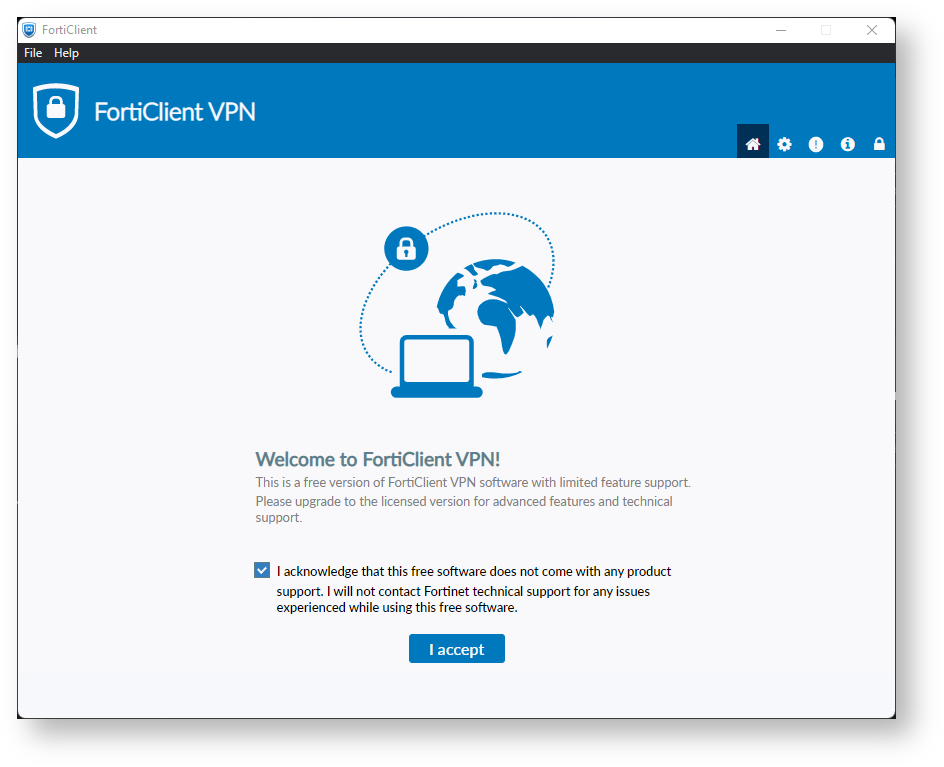
To start the FortiClient you can use your standard user account (no admin privileges needed). At the first startup you need to accept the fact that Fortinet does not support this free version. If you need assistance ask our Service Desk staff

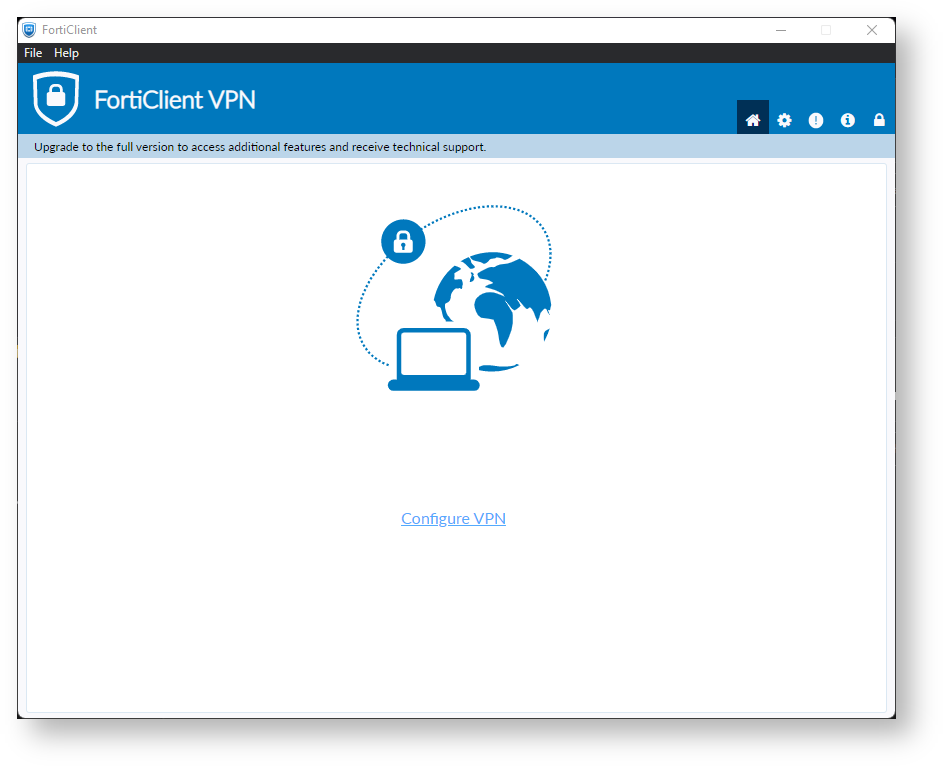
Click on "Configure VPN"

The Client is able to establish different types of VPN connections so make sure "SSL-VPN" is selected. The configuration for our standard VPN connection should look something like this:

| VPN | SSL-VPN | Type of VPN connection. Should be "SSL-VPN" |
| Connection Name | SSL-VPN FRA-UAS pub-all | Can be freely selected |
| Description | Can be freely selected | |
| Remote Gateway | vpngate.frankfurt-university.de/pub-all | Gateway address. The "Realm" (VPN tunnel name) follows the slash / In most cases the realm is pub-all but it may differ when using a different tunnel. The port may also be customized but in this case just leave it at 443 (default). "Enable Single Sign On (SSO) for VPN Tunnel" can be ignored (default). |
| Client Certificate | None | Certificate used for authentication. In this case no certificate is used (default) |
| Authentication | Prompt on login/save login | You may choose to save the login information. "Enable Dual-stack IPv4/IPv6 address" can be ignored (default) as we currently do not support IPv6. |
Click on "Save" to save the configuration. Subsequently the connection can be established.

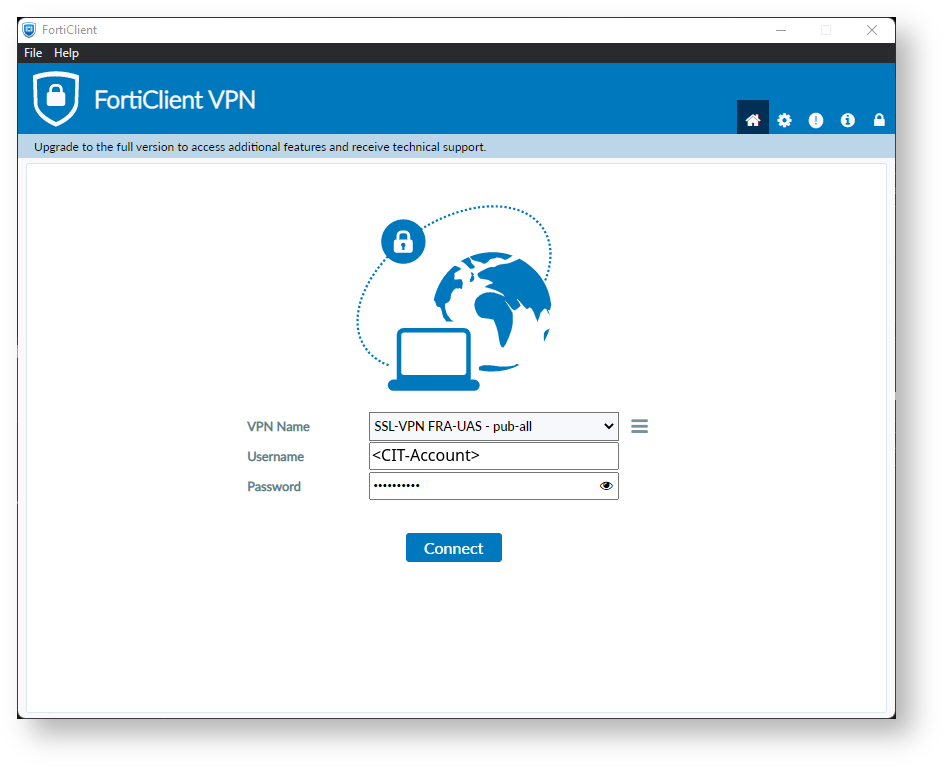
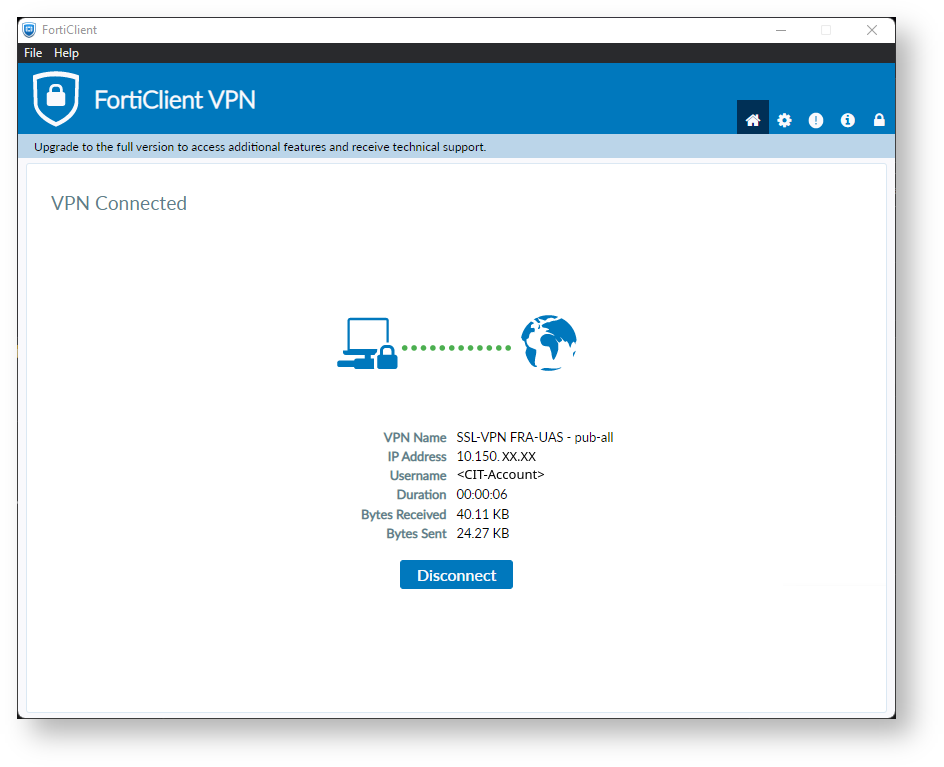
At the Startpage you will find the connection. Enter the login information for your CIT-Account and click on "Connect". When successfully connected you will be shown something like this:

|