Installation
Install the FortiClient via Google Play Store but be careful because there are two different versions of FortiClient. One version requires a licence the other is the free version with limited functions which we are using in this manual:
https://play.google.com/store/apps/details?id=com.fortinet.forticlient_vpn&hl=de_DEConfiguration
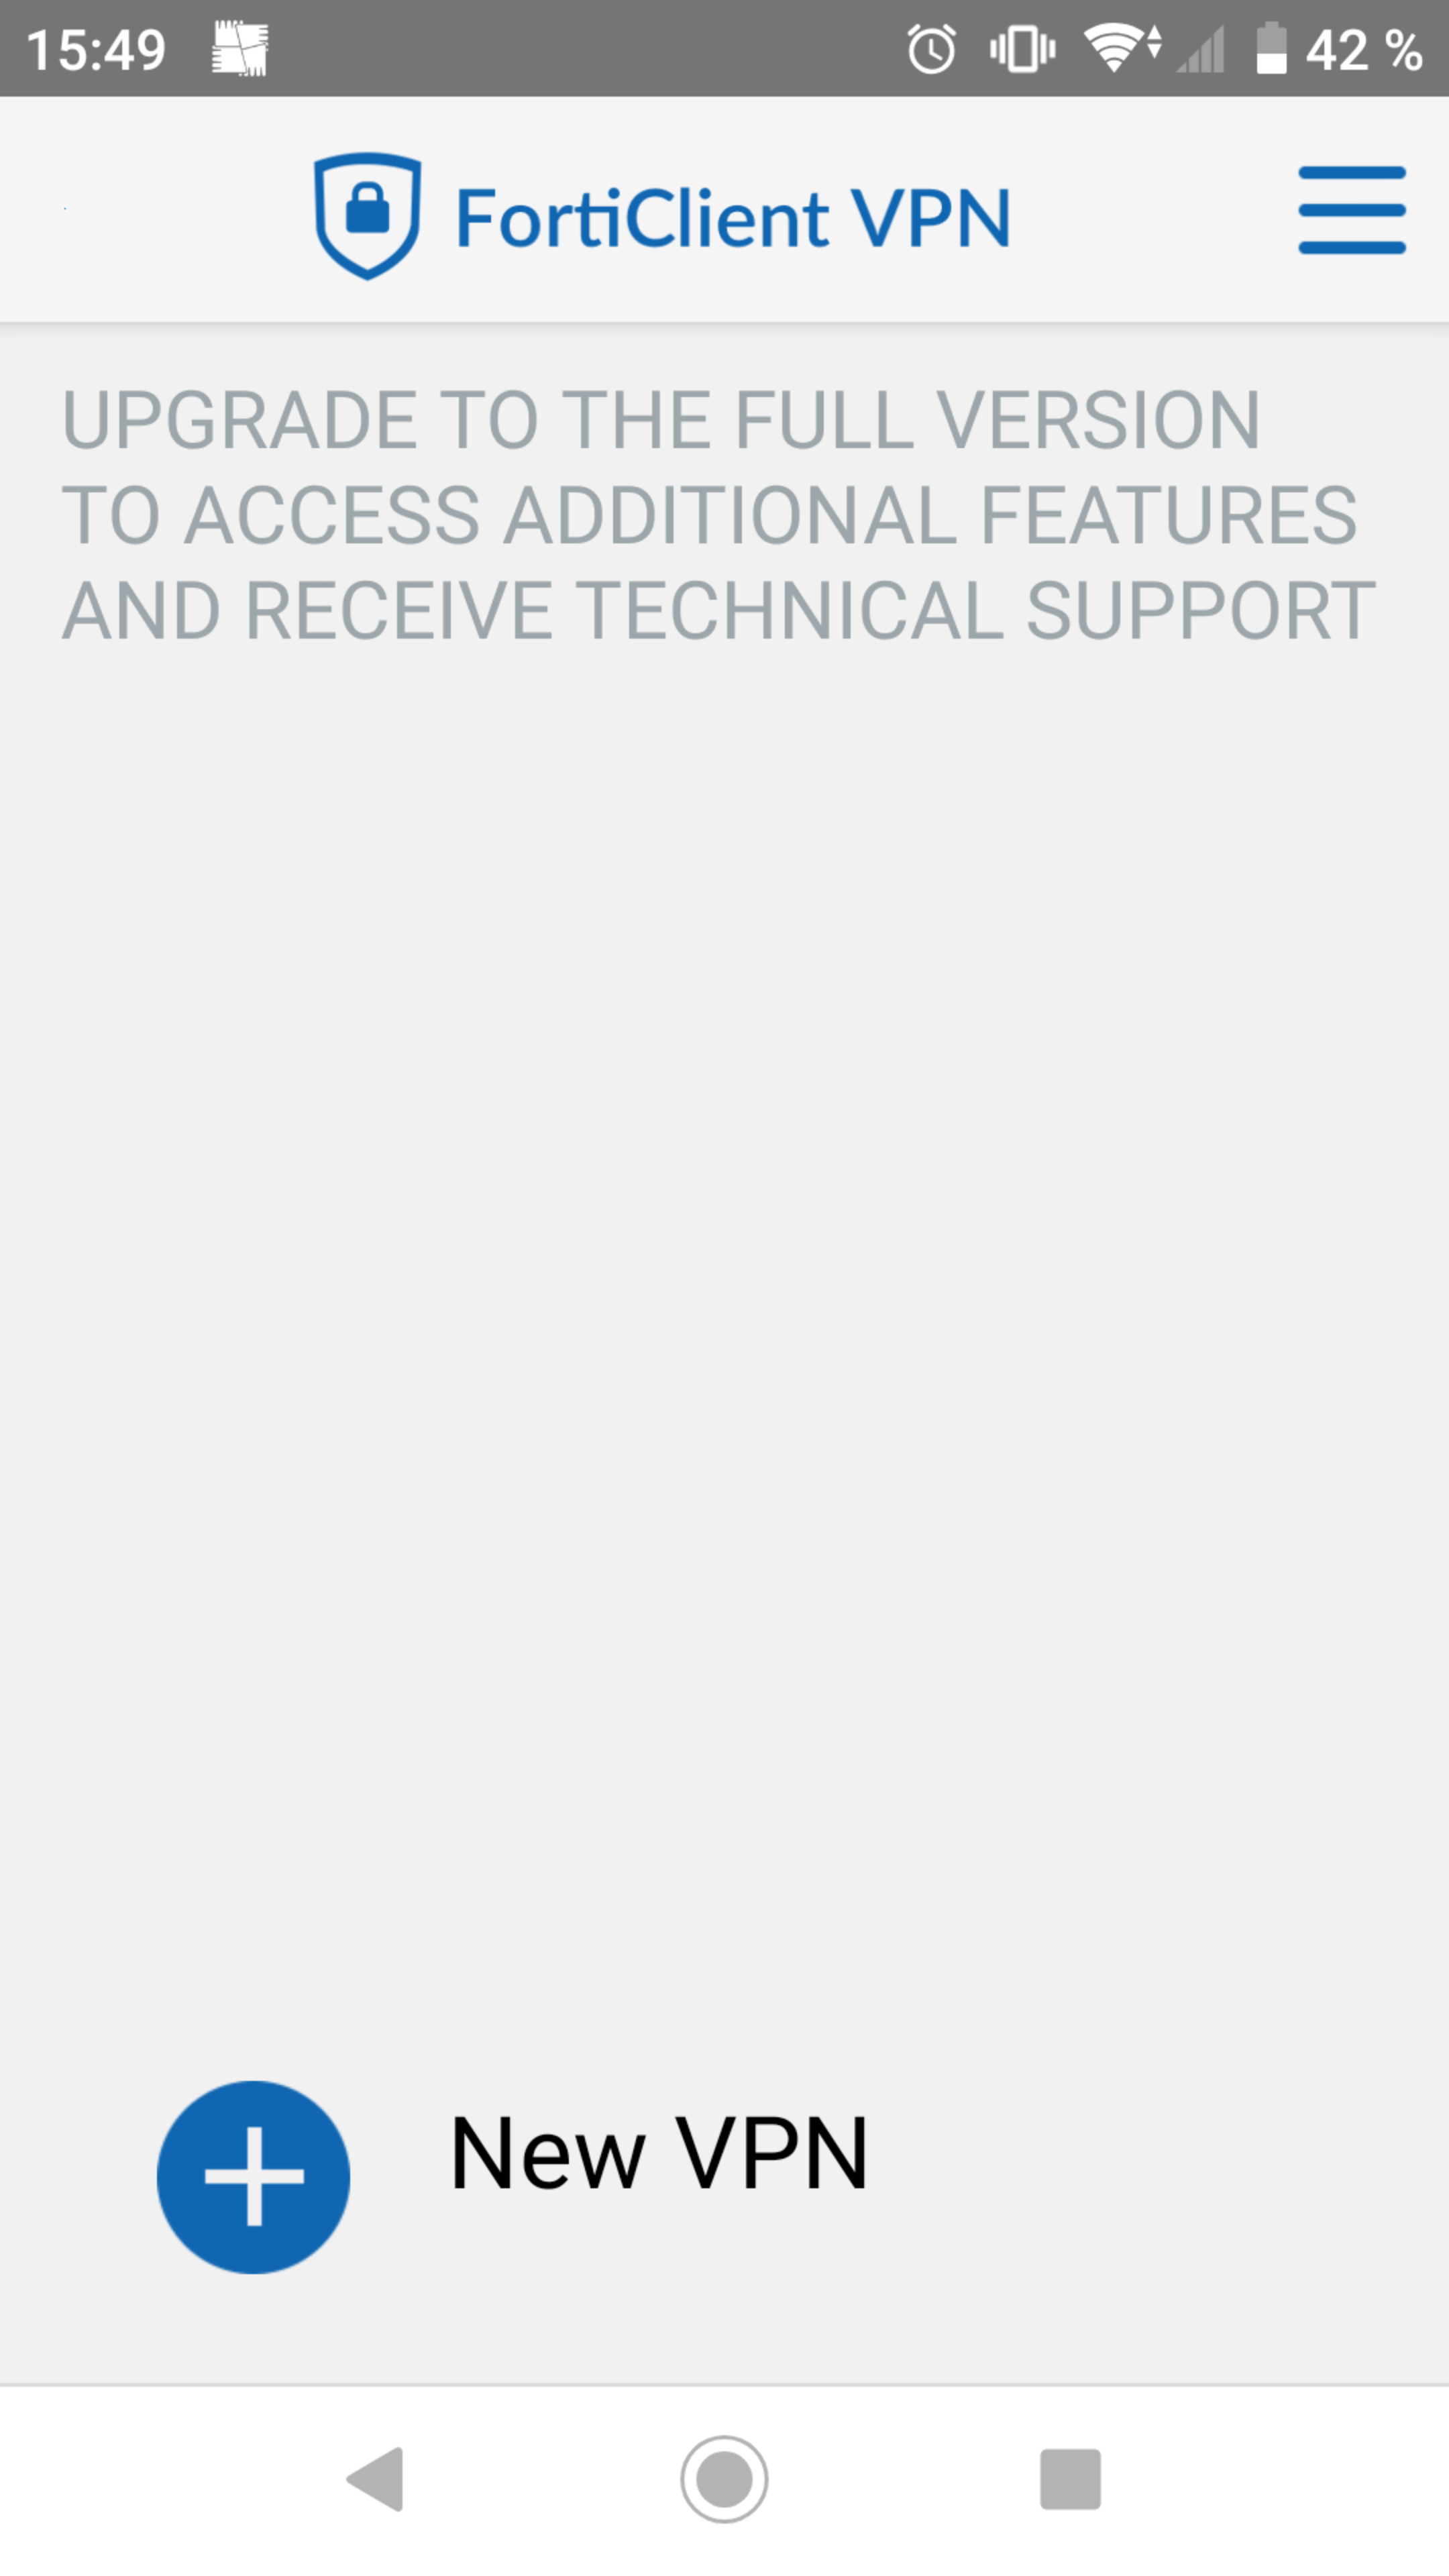
Tap "New VPN"
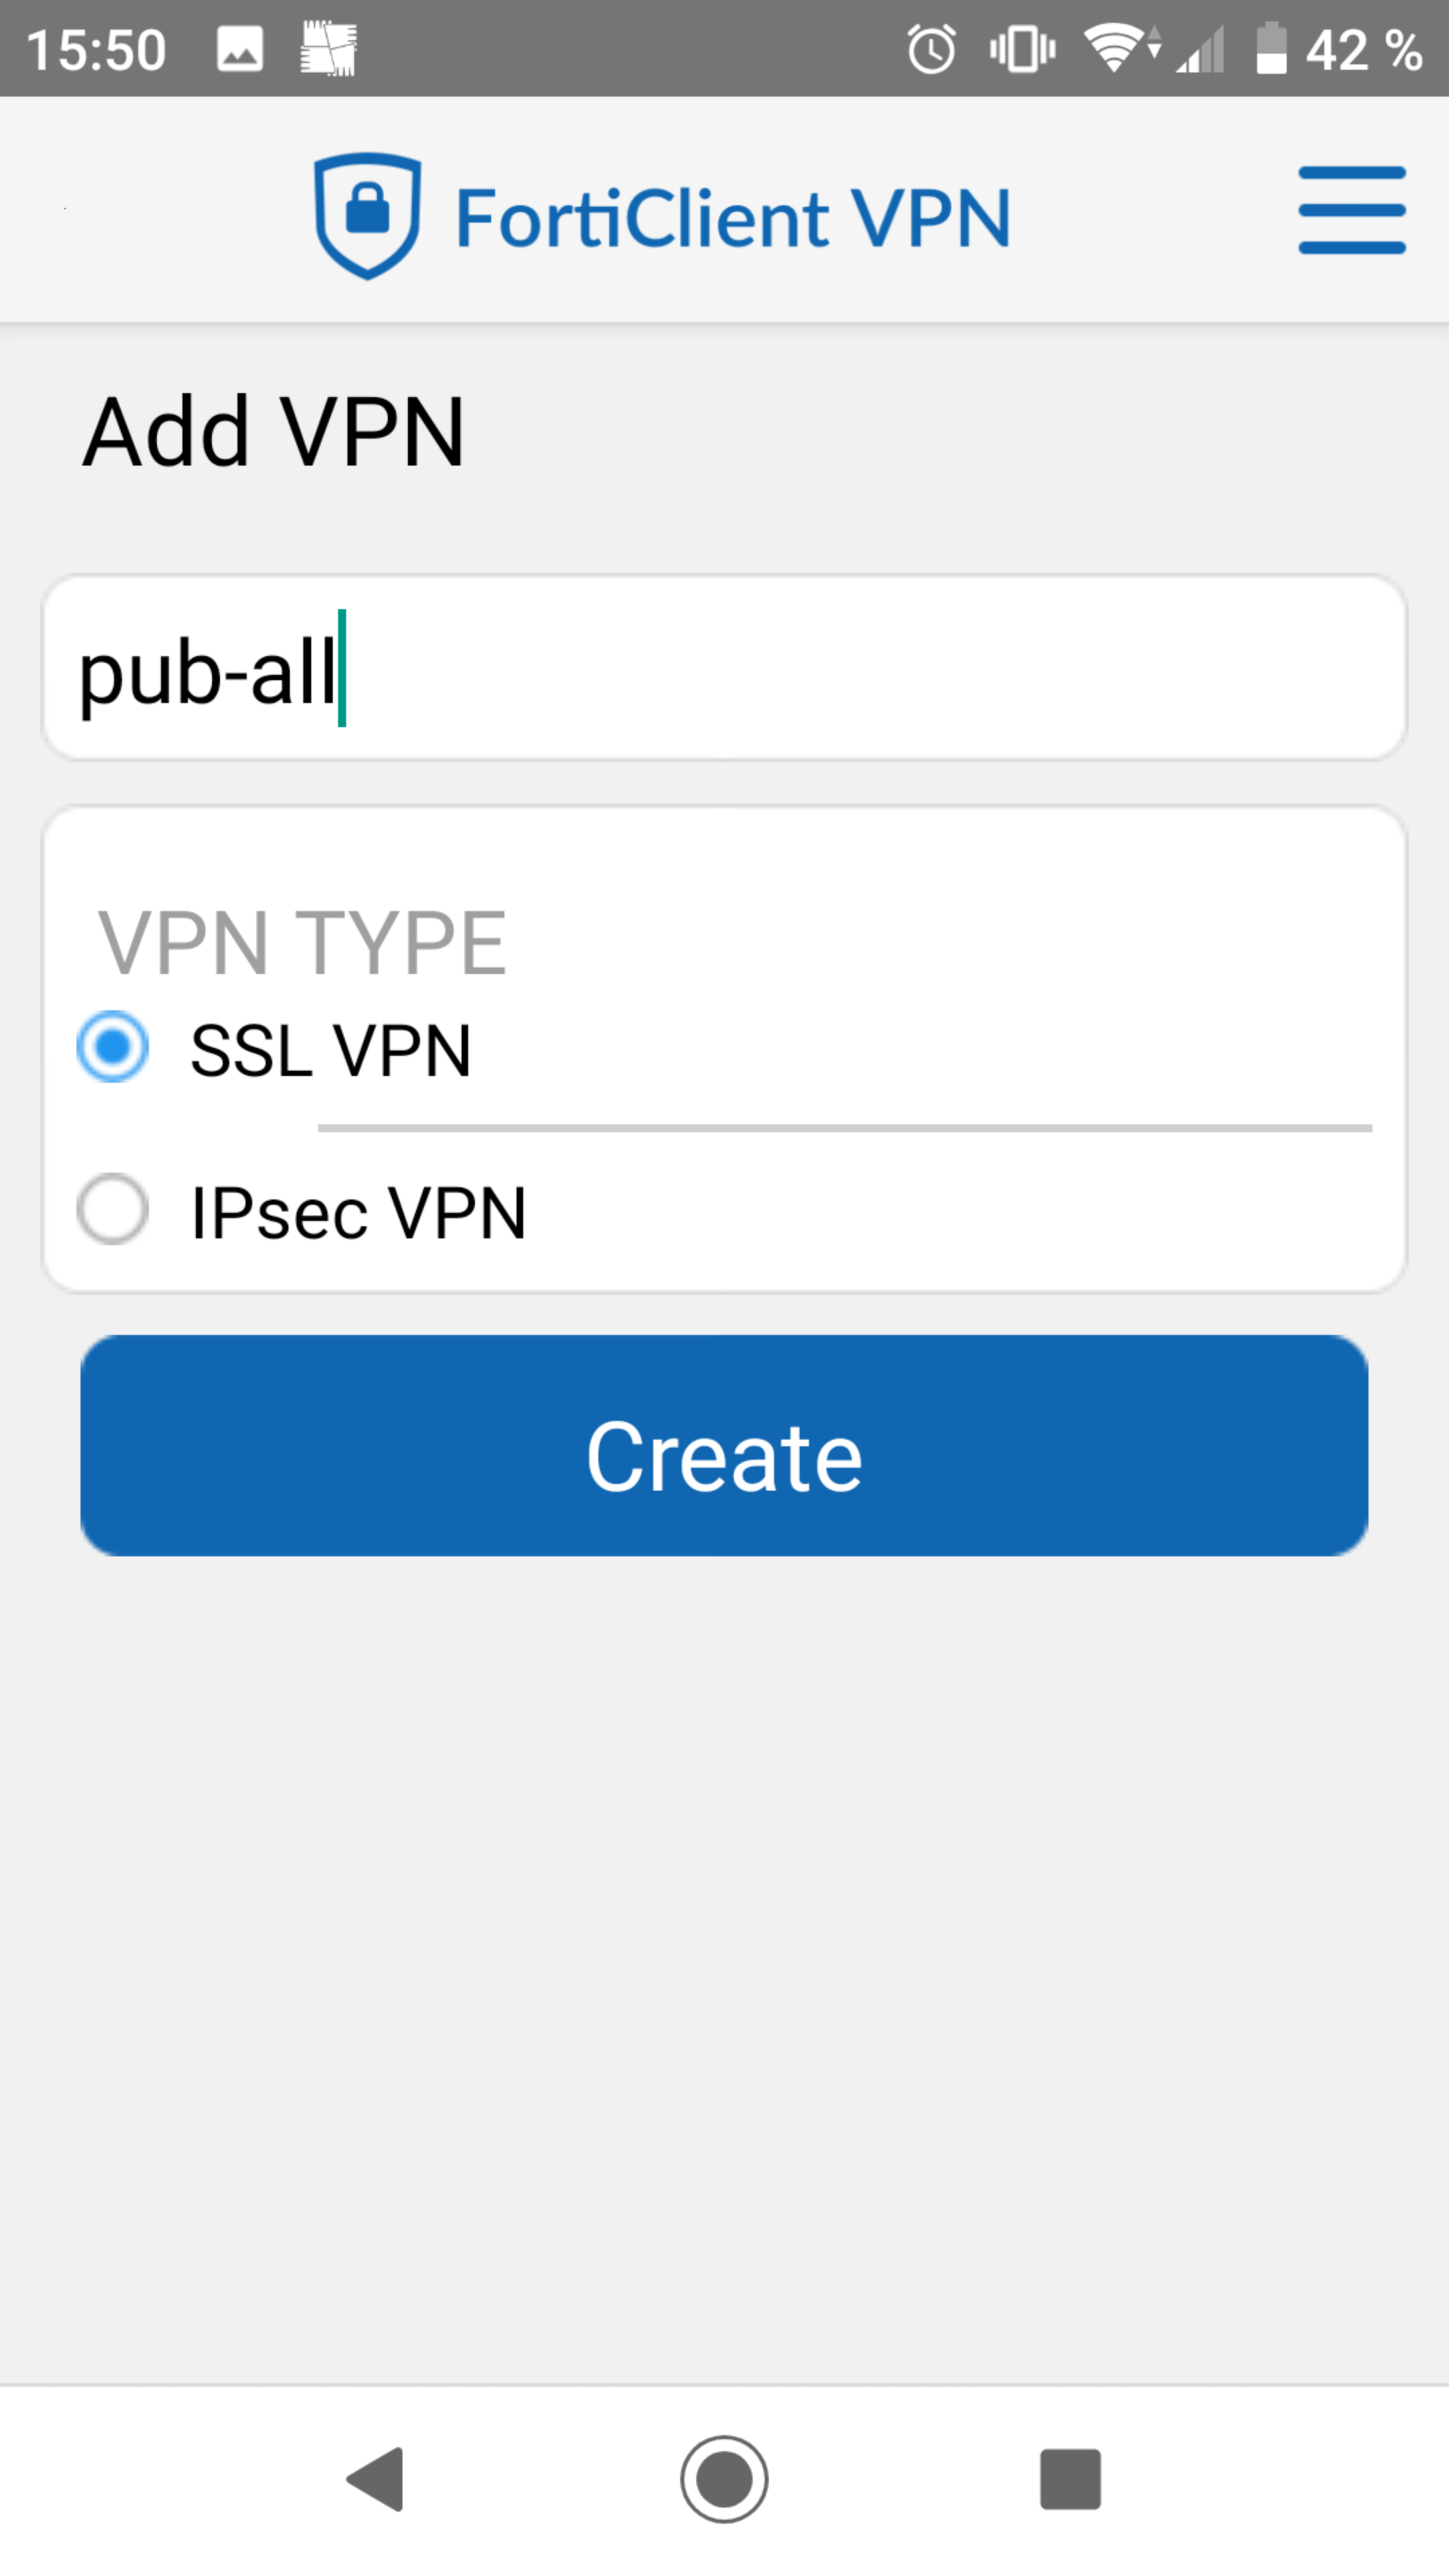
The connection name can be freely selected and will be shown at the startpage of the app. The "VPN TYPE" is "SSL VPN". Tap on "Create" to continue.
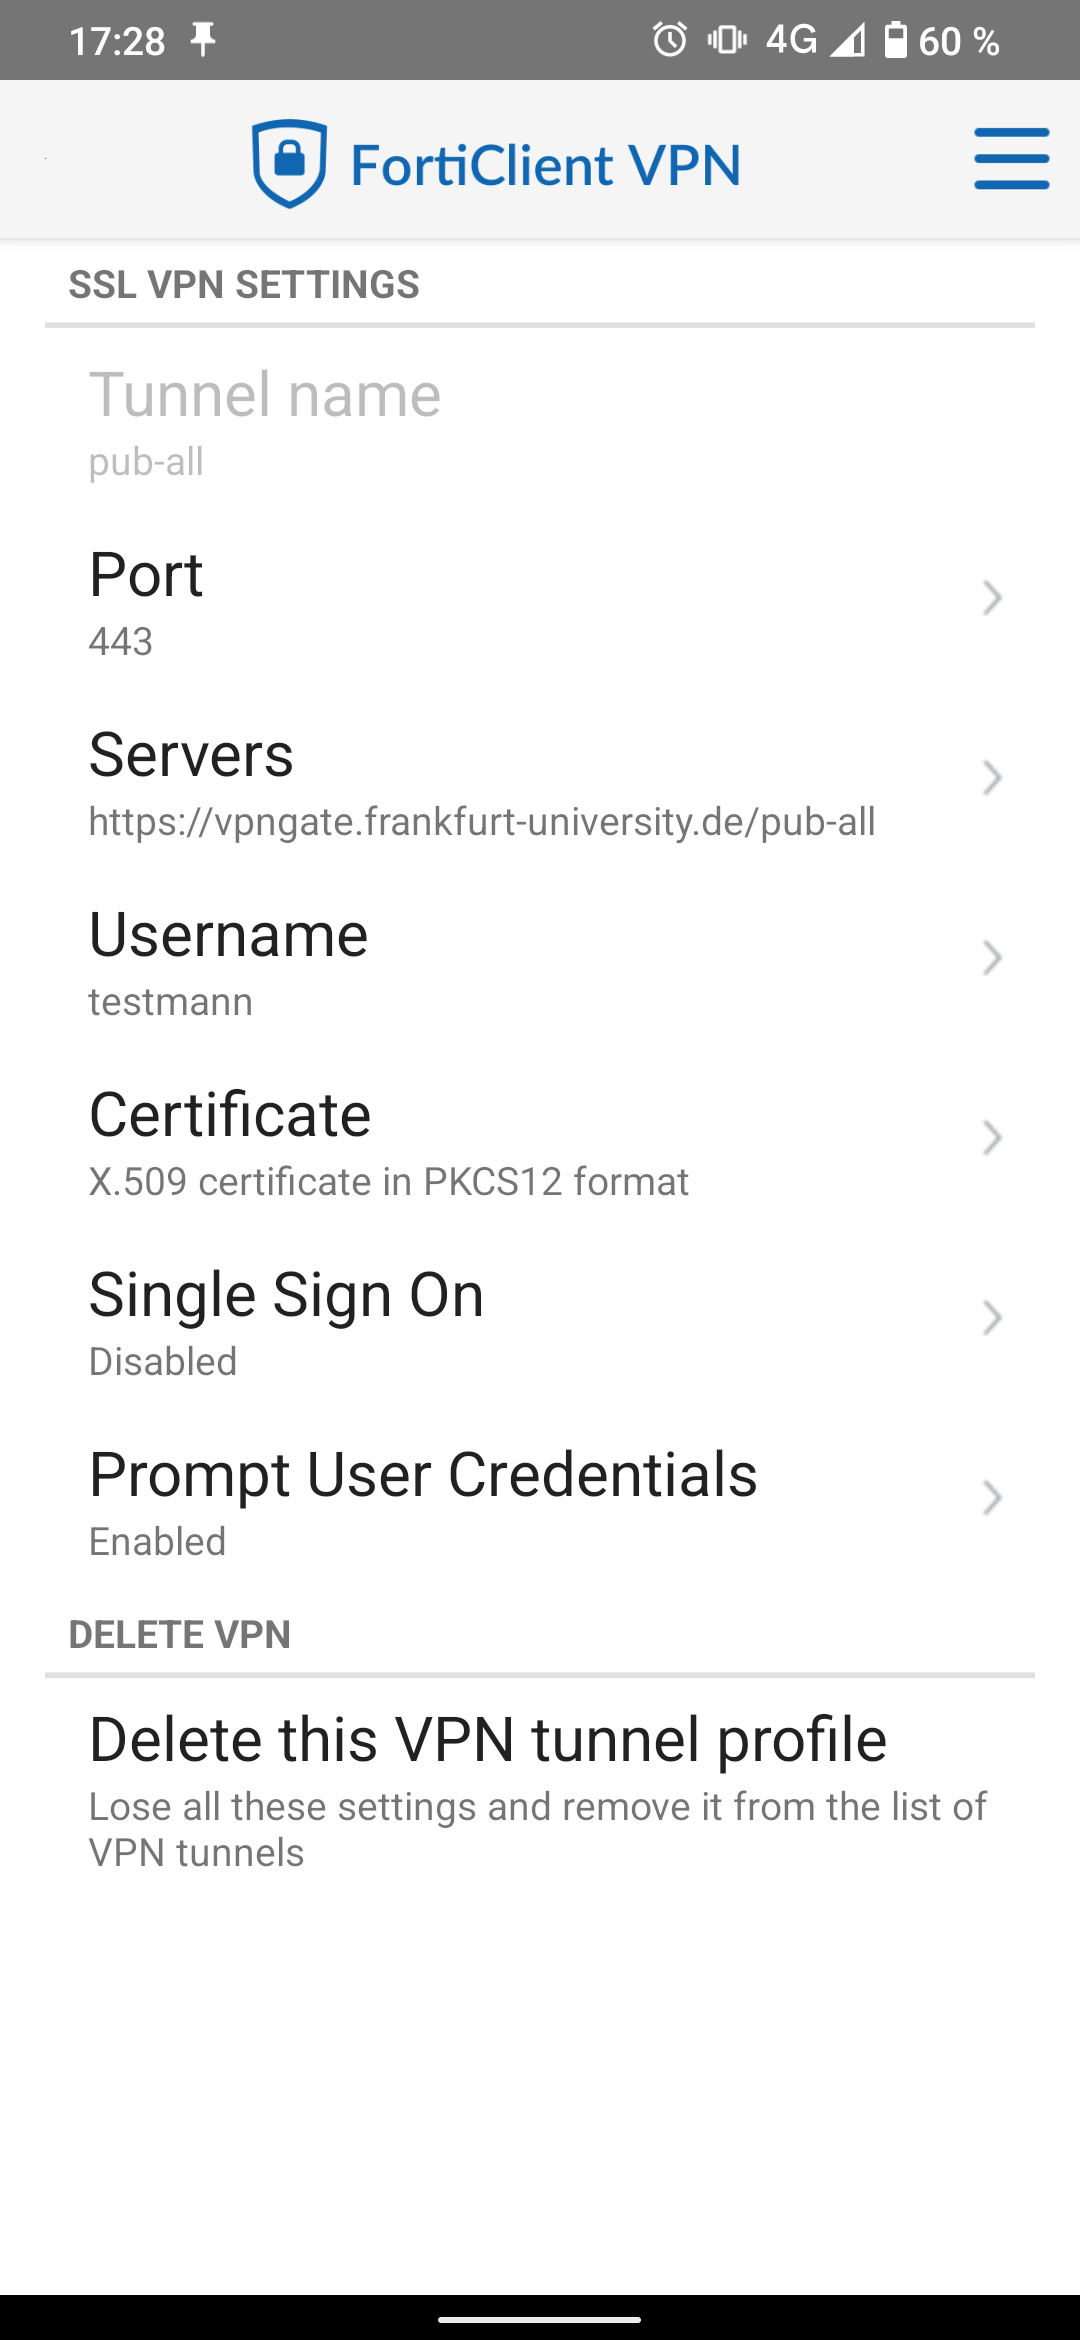
Complete the remaining fields. Note: "Servers" must include the host and the realm (for example: https://<HOST>/<REALM>). Will be
https://vpngate.frankfurt-university.de/pub-all
in most cases (standard vpn tunnel) but it may differ when using a different tunnel.
The configuration for our standard VPN connection should look something like this:
| Option | Value | Description |
|---|---|---|
| Tunnel name | pub-all | Can be freely selected. |
| Port | 443 | |
| Servers | https://vpngate.frankfurt-university.de/pub-all | |
| Username | Your CIT-Account. | |
| Certificate | Certificate used for authentication. In this case no certificate is used (default) | |
| Single Sign On | Disabled | Can be ignored (default). |
| Prompt User Credentials | Enabled |
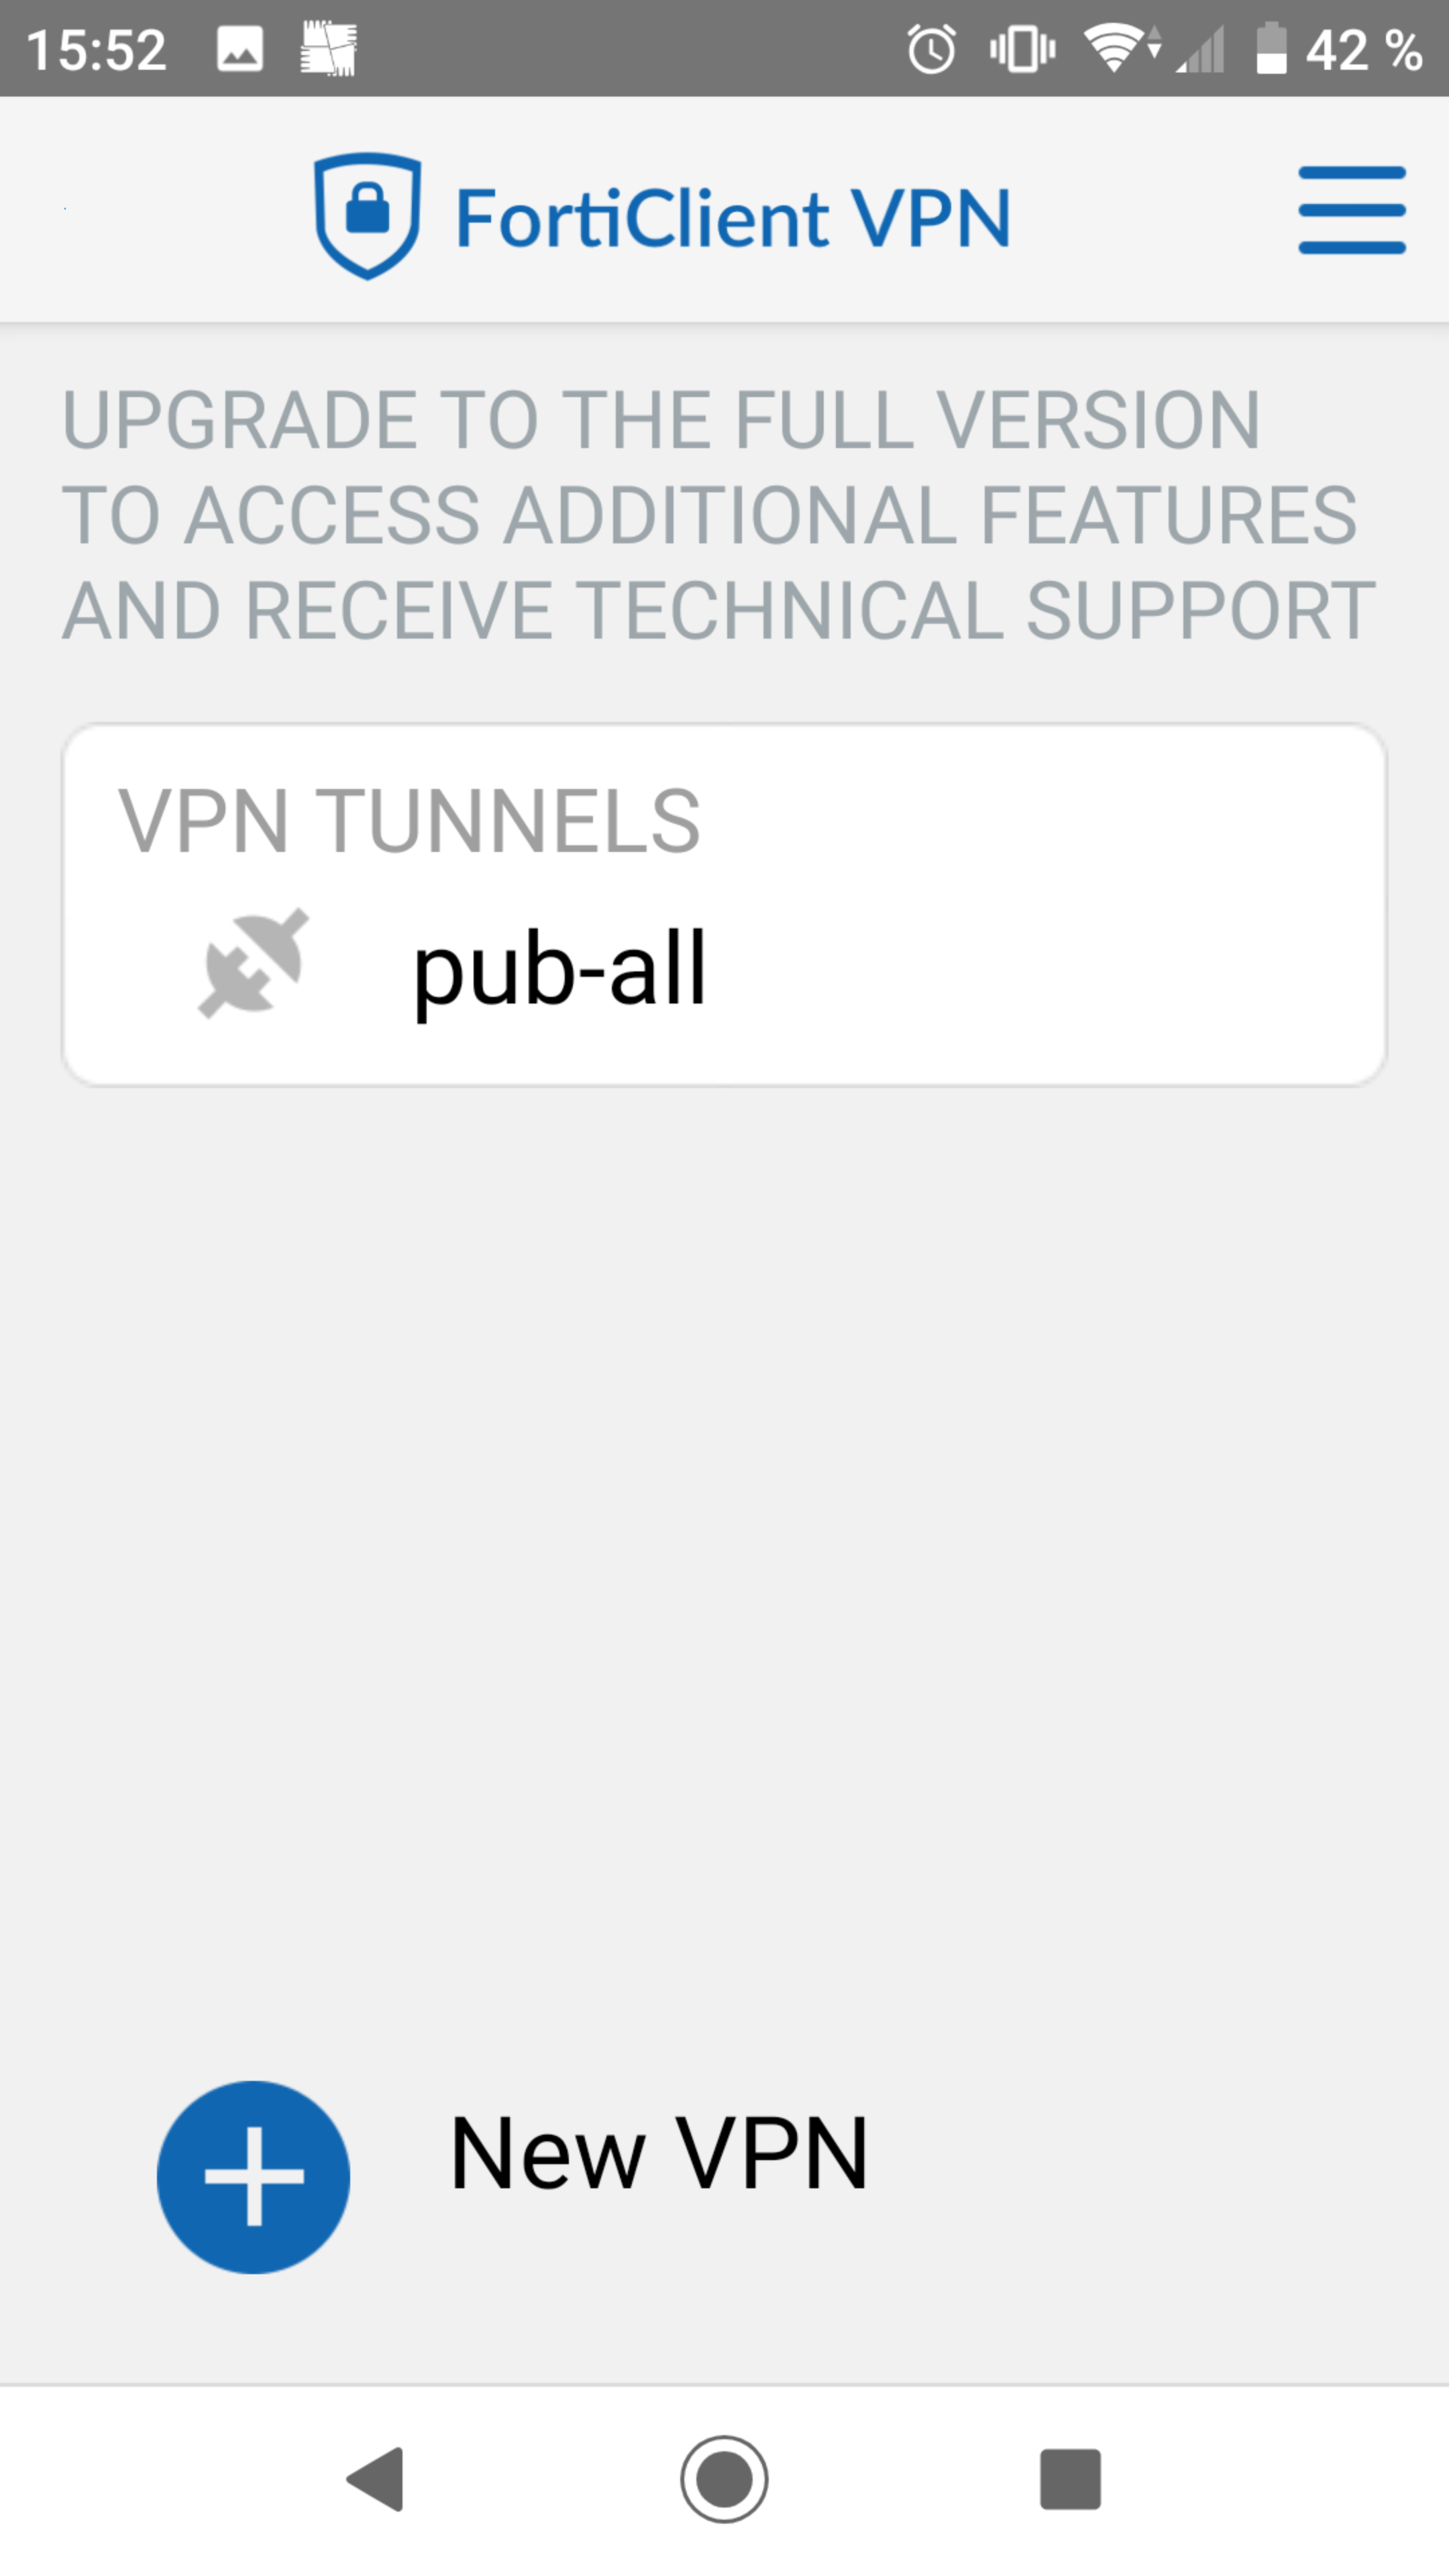
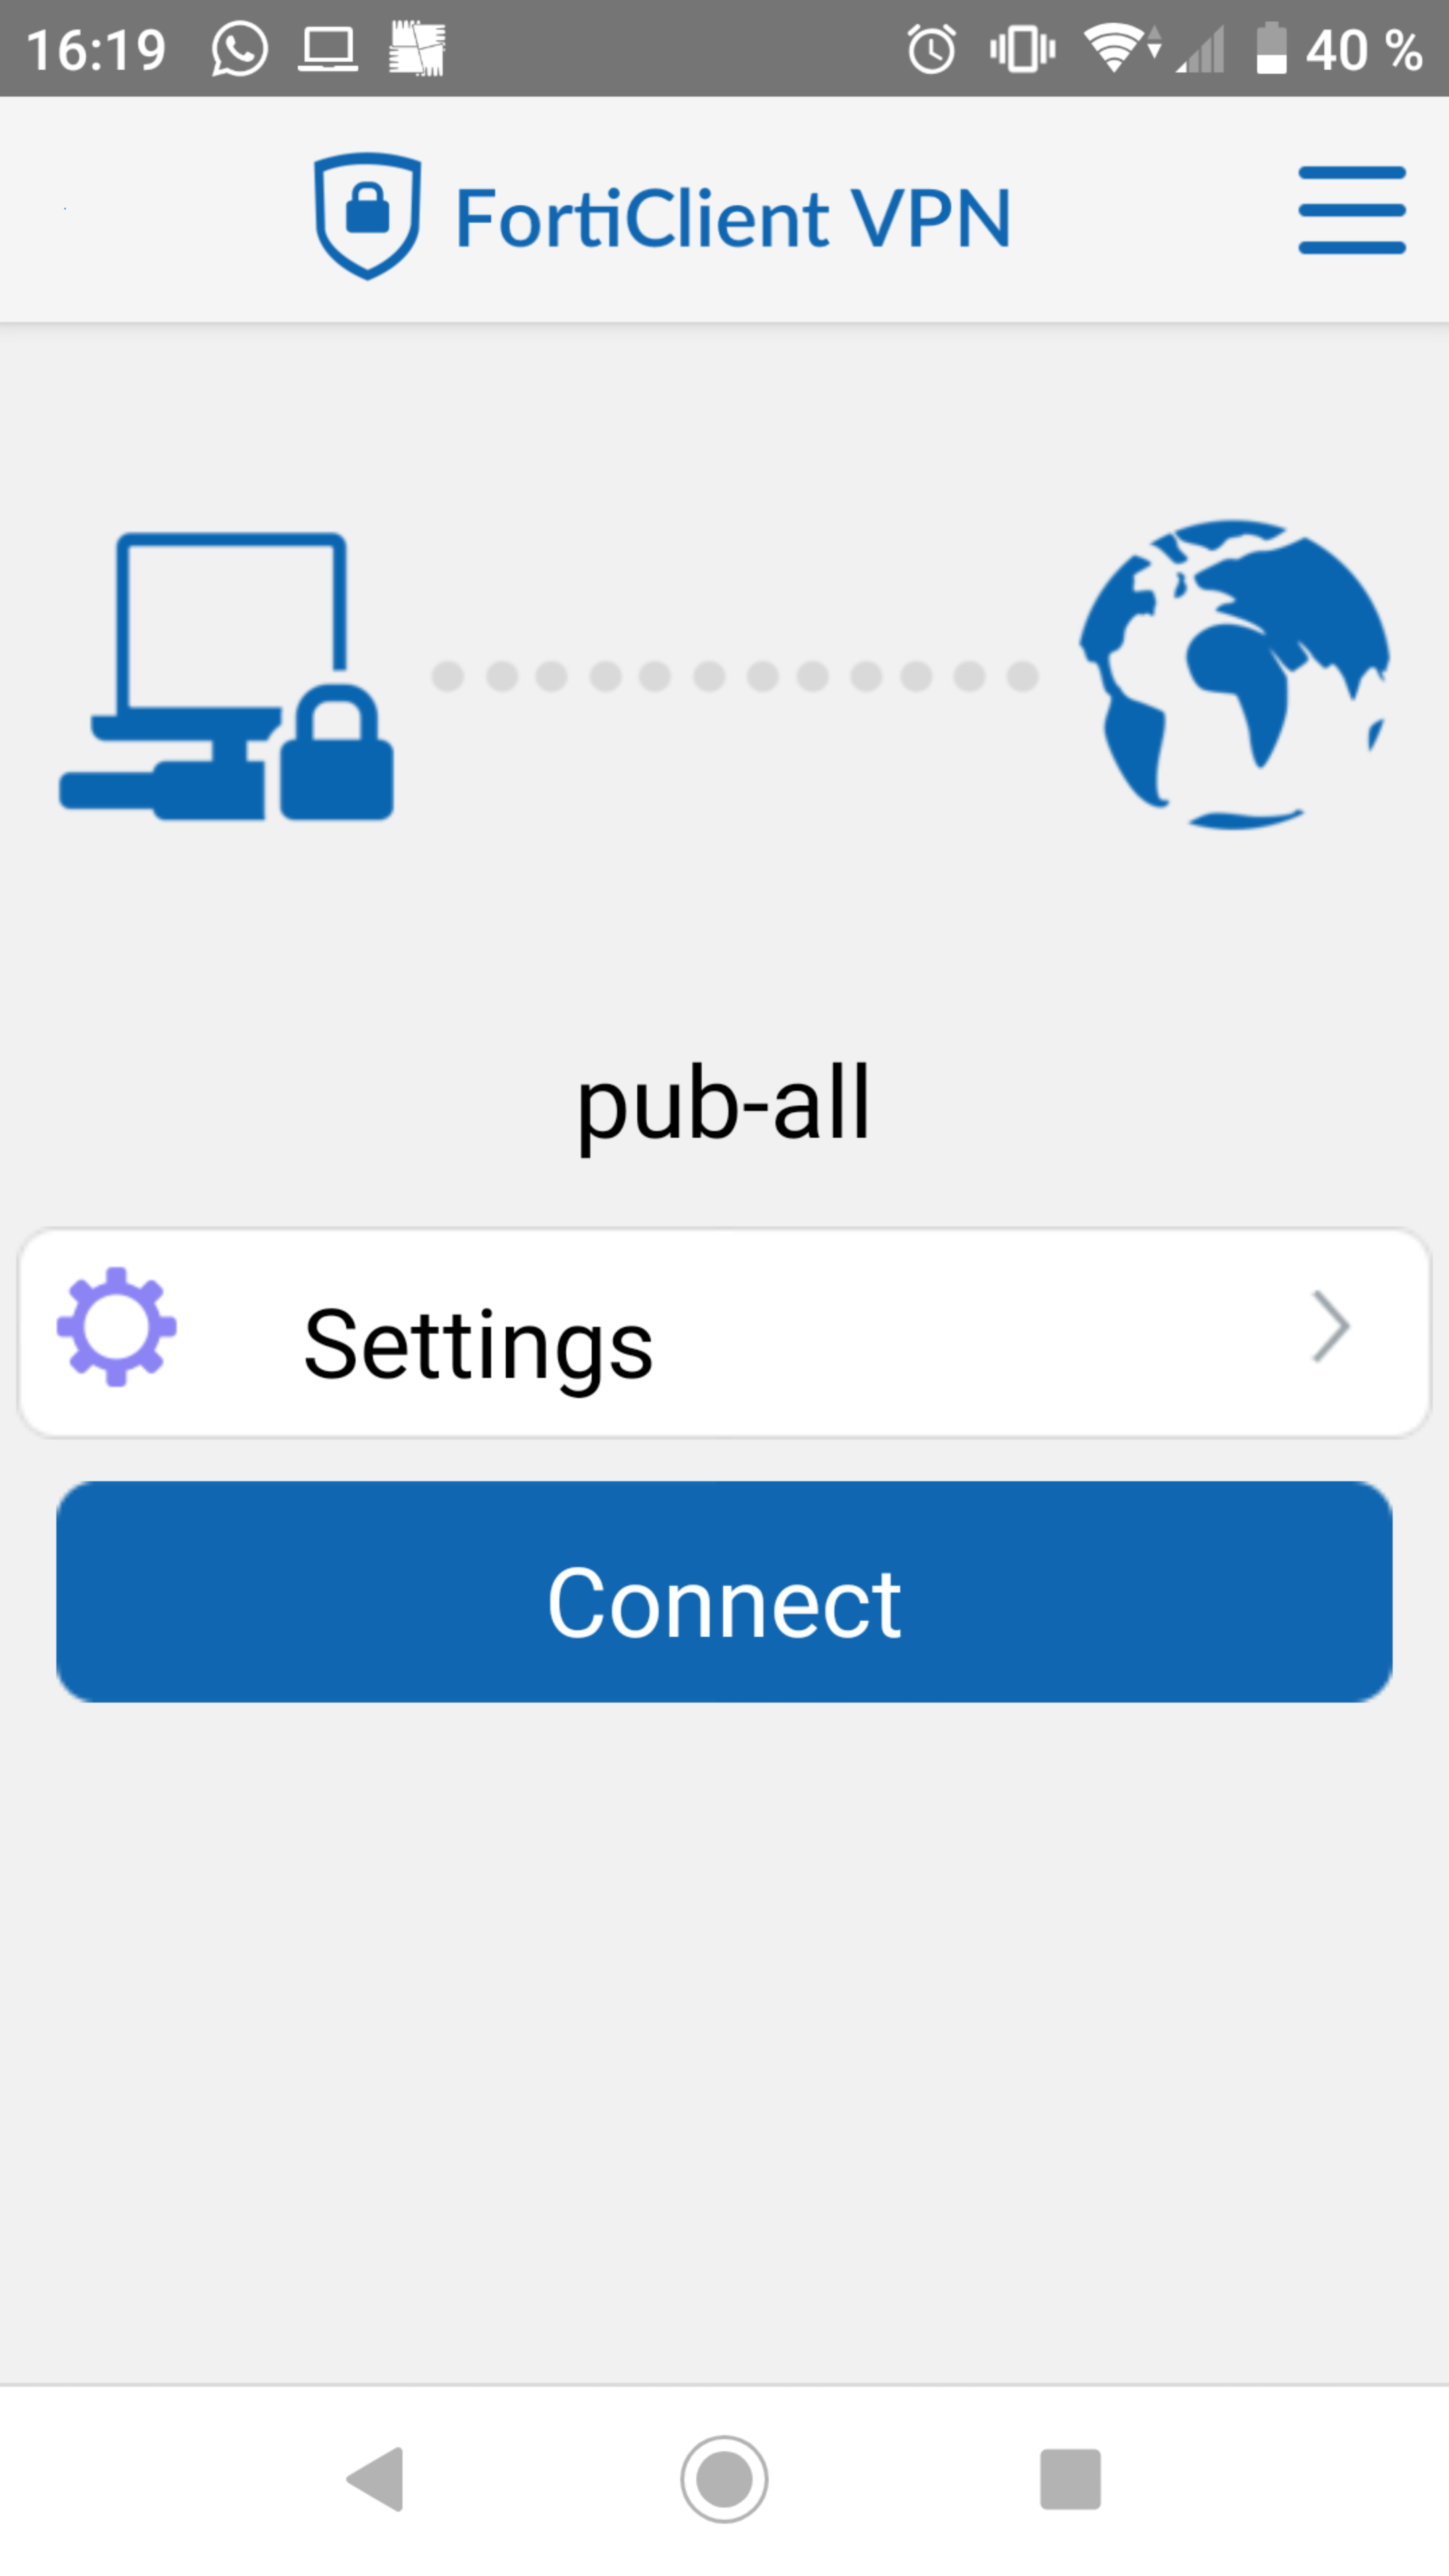
Configuration is saved automatically. Go back to the startpage of the app and tap on the configured vpn connection "pub-all".
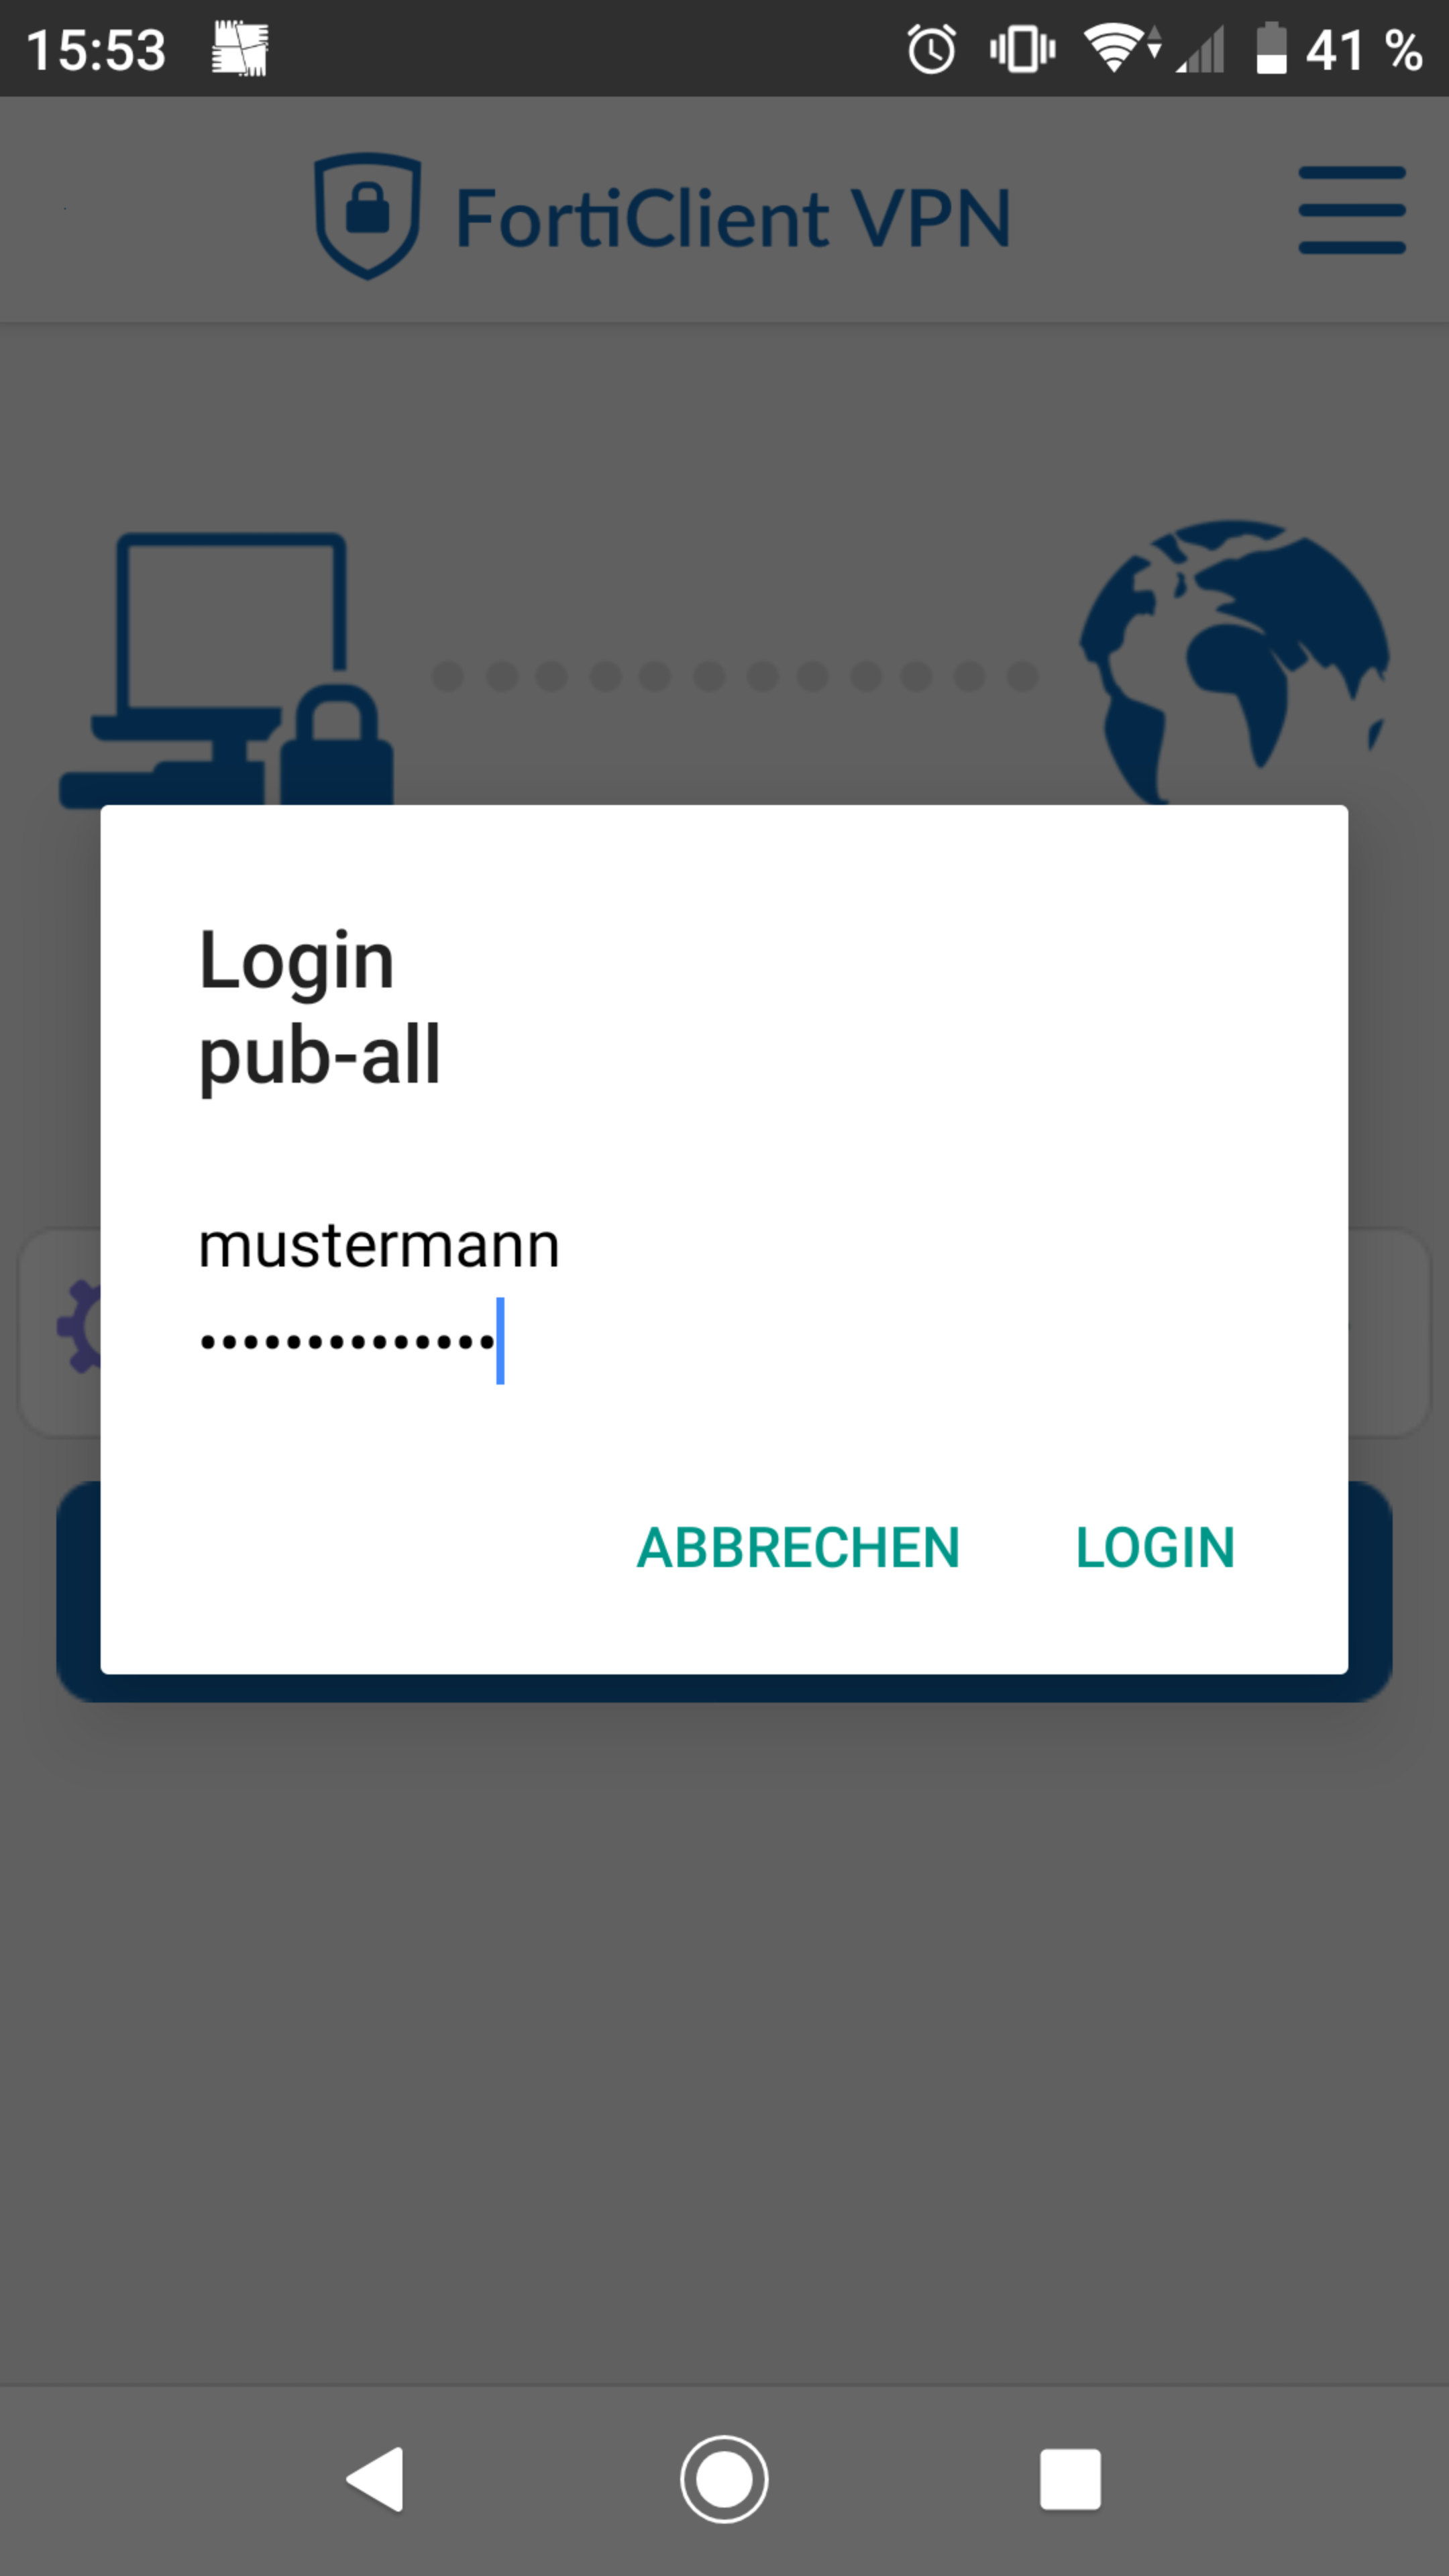
Tap on "Connect" and enter your login information (CIT Account). Click on "Login" to continue.
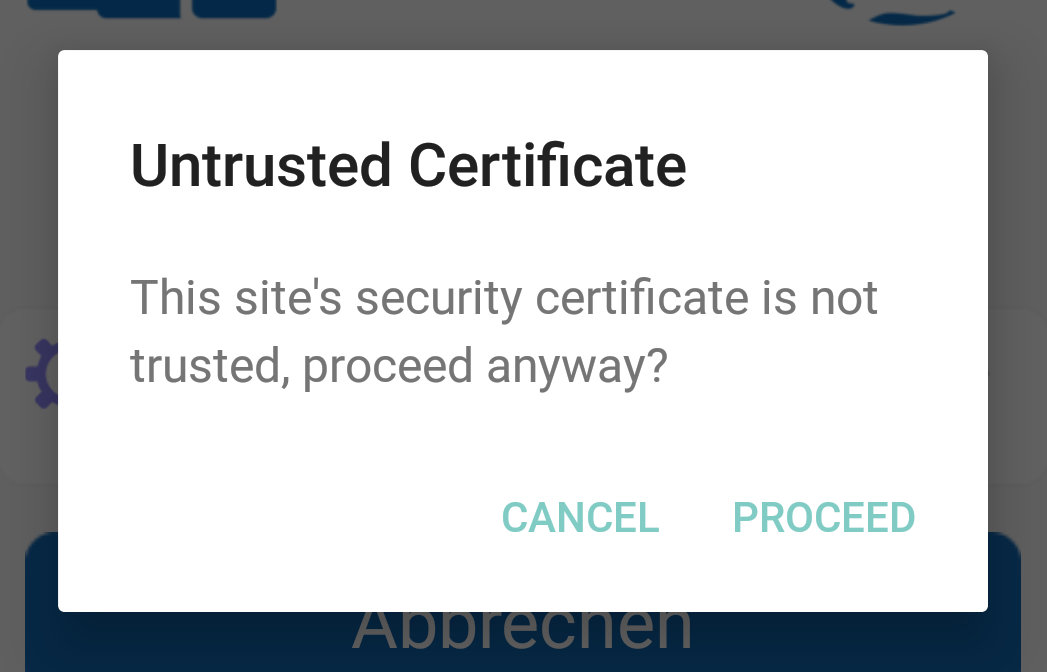
Note: You may be shown a pop up when connecting:
Which means FortiClient cannot check whether the servers certificate is valid or invalid. Future FortiClient versions may be able to validate. Tap on "Proceed" to continue and establish the connection.
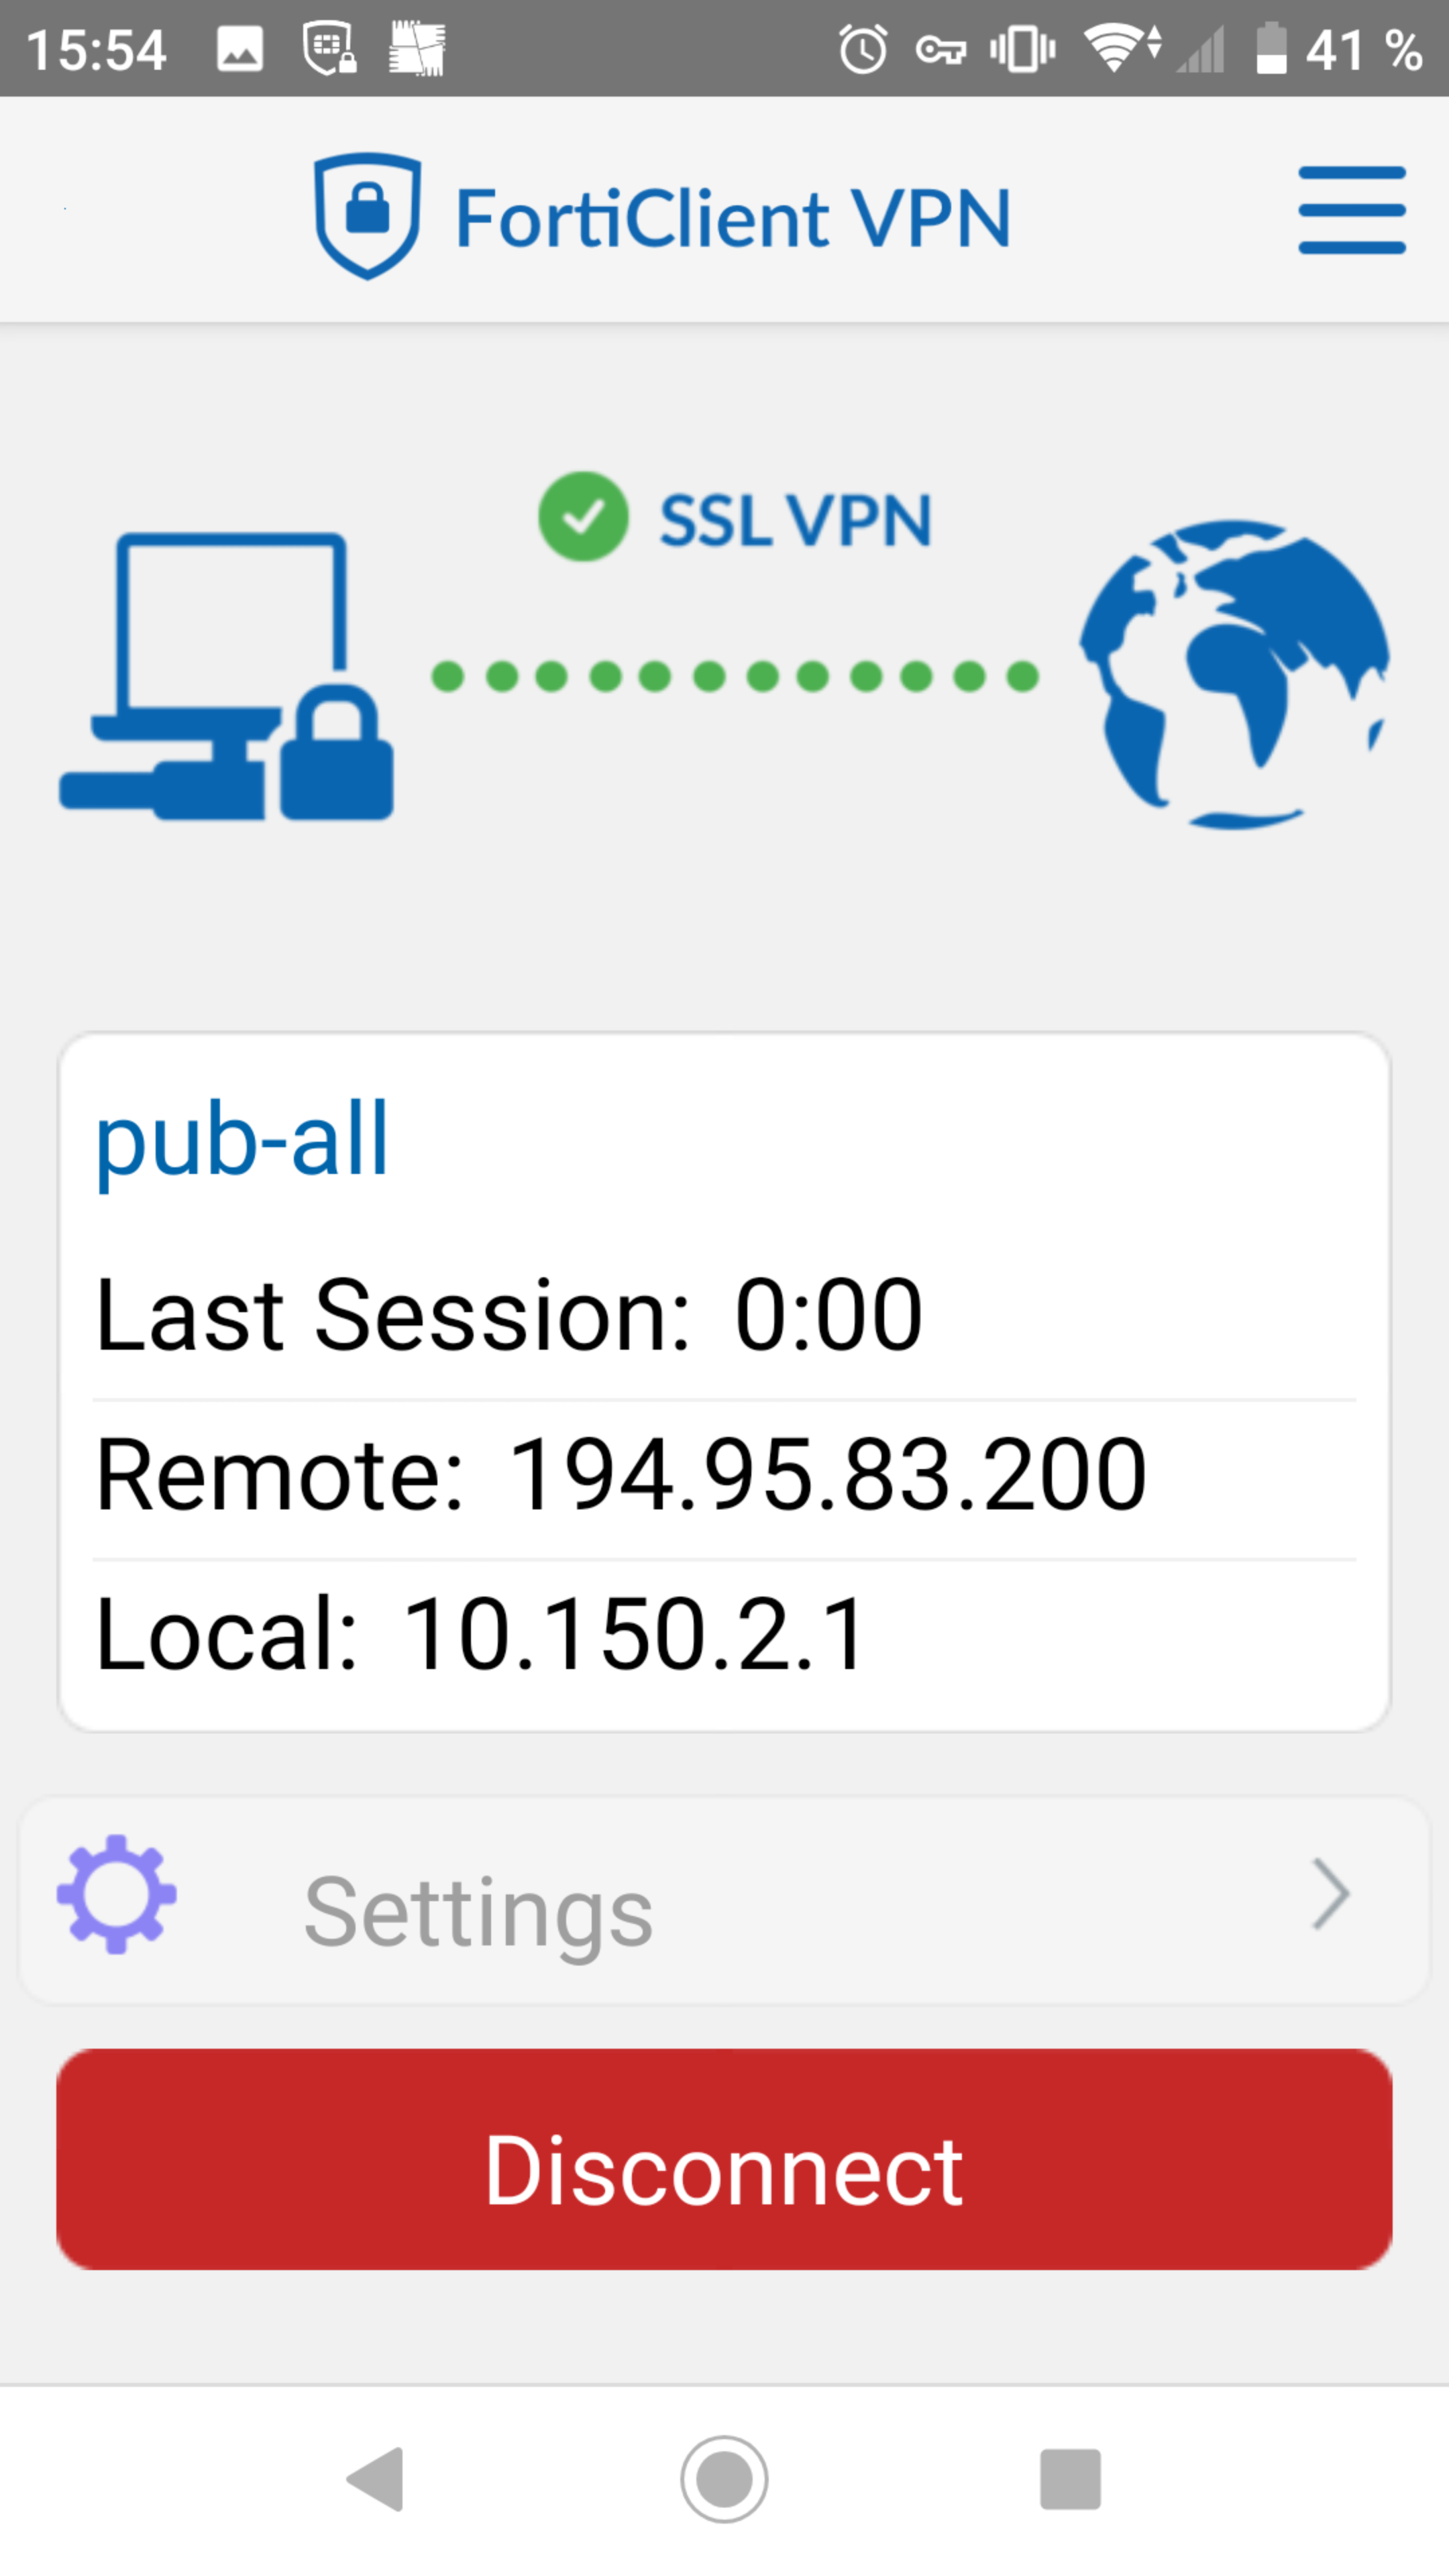
When successfully connected you will be shown something like this:

